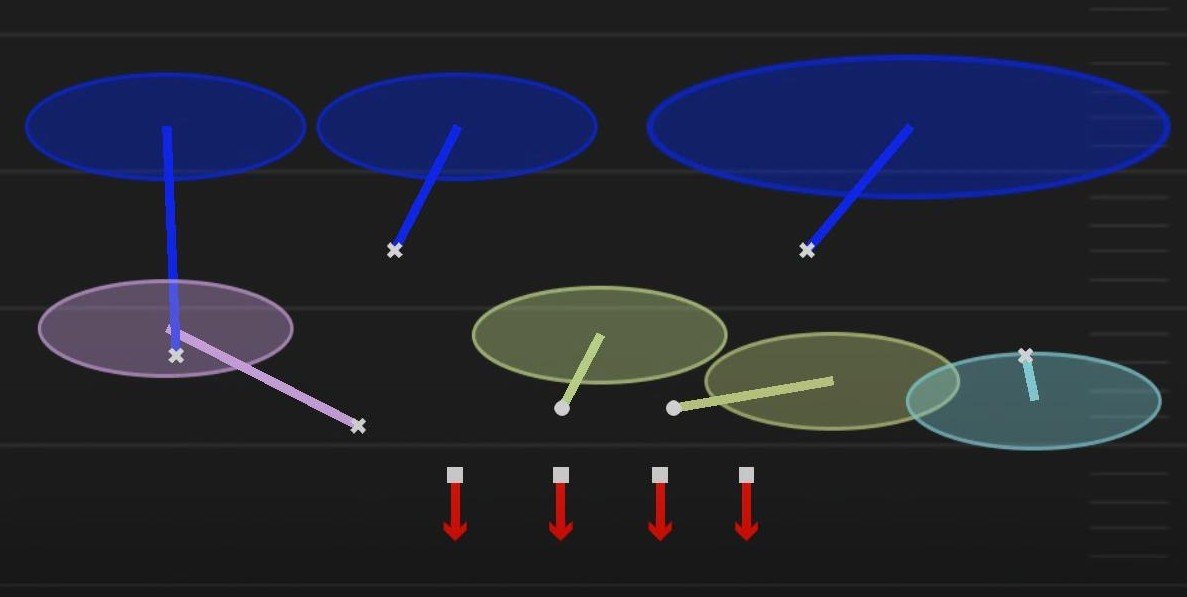
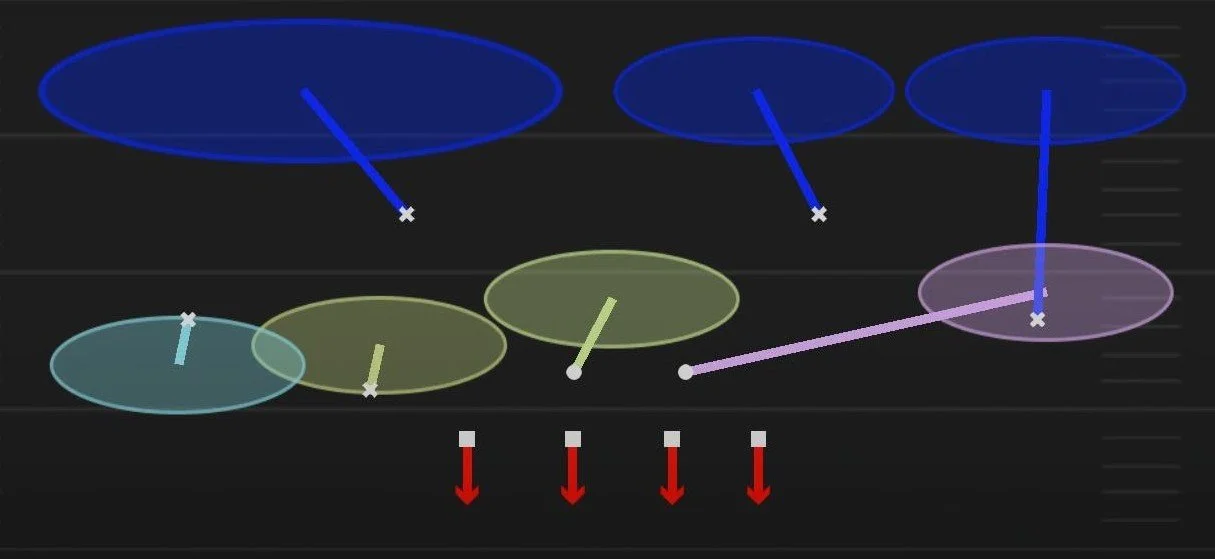
ATTACKING DEFENSIVE COVERAGES
Every passing concept is designed to attack a specific defensive structure. Recognizing coverage before and after the snap allows quarterbacks to confirm their reads, anticipate rotations, and understand where the defense is vulnerable. This page breaks down the most common defensive coverages, their variations, safety rotations, corner techniques, and weak spots, while connecting each coverage to the offensive concepts best suited to exploit it. The better you understand the defense, the faster you can diagnose the coverage and make the right decision with the football.
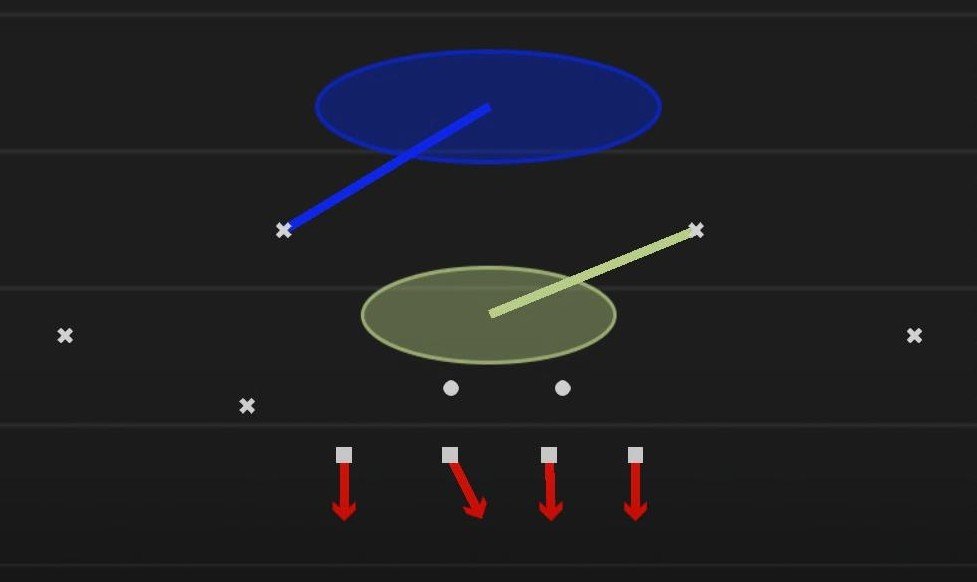
COVER 1
Cover 1 is a man-to-man coverage with a single high safety providing deep middle support. It allows the defense to dedicate an extra defender to the run game or pressure while relying on defensive backs to win one-on-one matchups.
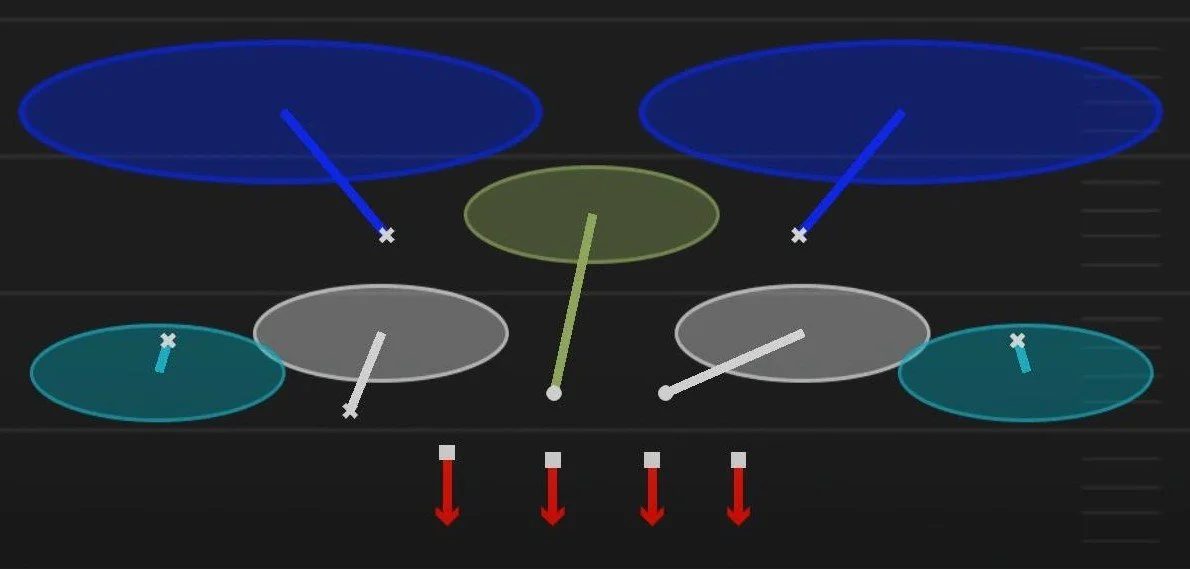
COVER 2
Cover 2 is a two-high zone coverage with both safeties responsible for the deep halves of the field. Corners play underneath in the flats, allowing the defense to keep two safeties over the top while forcing offenses to complete shorter throws.
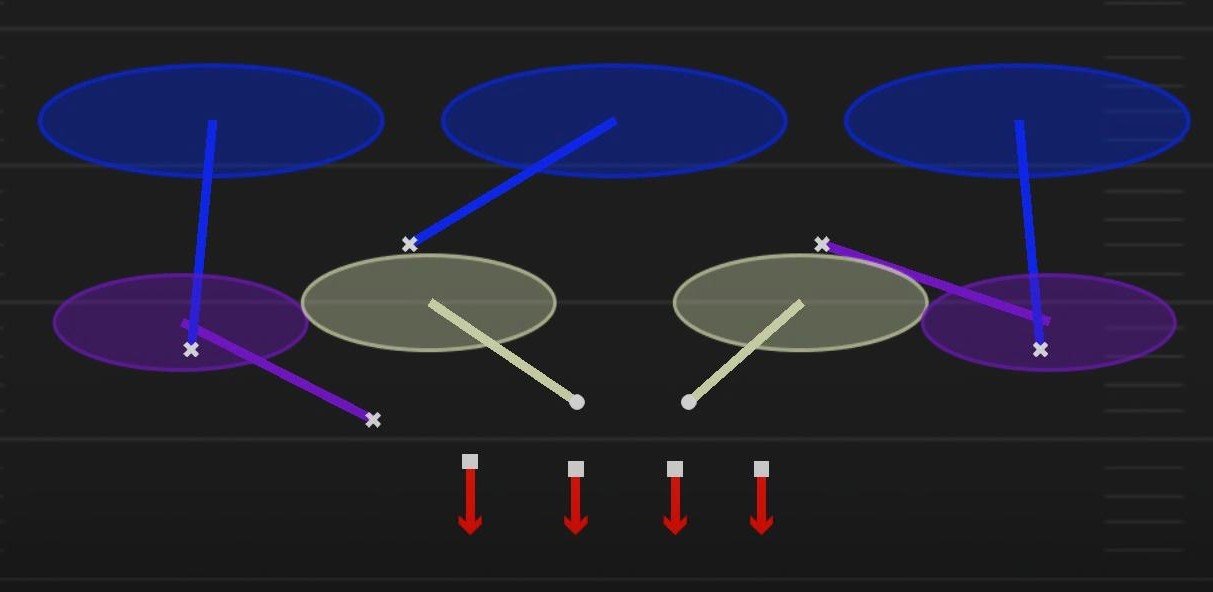
COVER 3
Cover 3 is a single-high zone coverage with three deep defenders and four underneath defenders. It provides a balanced defense against both the run and pass while limiting explosive plays over the top.
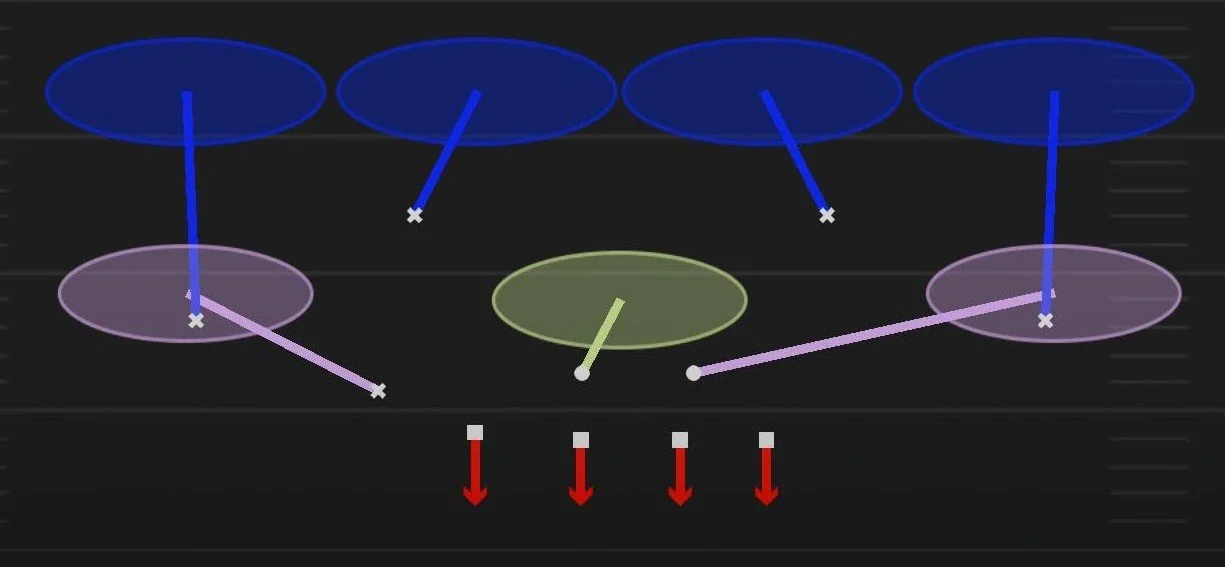
COVER 4
Cover 4, commonly known as Quarters, is a two-high safety coverage where each cornerback and safety is responsible for one-quarter of the deep field. While it can be played as a traditional zone, many defenses use pattern-match principles that allow defenders to match receivers based on their releases. Cover 4 is designed to eliminate explosive plays while maintaining a balanced run-pass defense.
COVER 6
Cover 6, also known as Quarter-Quarter-Half, combines Cover 4 on one side of the field with Cover 2 on the opposite side. Defenses use Cover 6 to defend formations with a passing strength while maintaining better leverage against boundary concepts. The coverage allows defenses to play aggressively to one side while protecting against explosive plays to the other.
COVER 9
Cover 9 is a split-field coverage that combines Cover 2 on one side of the field with Cover 4 on the opposite side. While structurally similar to Cover 6, the quarter and half-field responsibilities are reversed. Defenses use Cover 9 to match offensive formations, protect specific receivers, and disguise coverage while maintaining balanced run support.
COVER 0
Often called Blitz0, Cover 0 is an all-out man coverage with no deep safety help. Every eligible receiver is covered man-to-man while the remaining defenders are free to blitz the quarterback. Cover 0 is designed to create immediate pressure and force the ball out before routes have time to develop.